Finalizing your Covid-19 analysis developing installation
Content
In this post we are talking about finalizing the setup of the development system after installing Python on Windows or MacOS. These are the topics we will discuss:
- Finalizing your developing installation
- Installing some popular Python components
- Installing Visual Studio Code
- Installing GitHub Desktop
- Using Python
- Testing CVB Python
- Using GitHub and GitHub Desktop
- Using Jupyter Notebook
- Using Visual Studio Code
Finalizing your developing installation
The following steps are the same under Windows and MacOS and I took screenshots from my Windows system. It can be done on MacOS using the pretty much identical commands or installation of MacOS software packages instead of the same Windows installers.
Installing some popular Python components#
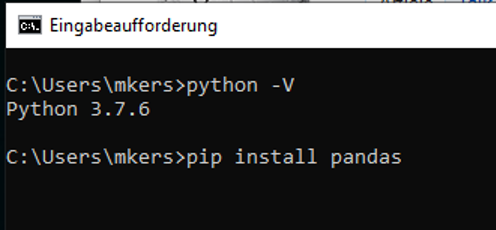
Next is to install some popular and frequently required Python packages. This can be done using PIP ( P ython I nstalls P ackages). Use the command pip install in the command prompt to install such packages. A package may already include by another package but it's still safe to call pip install for the component you want to install:
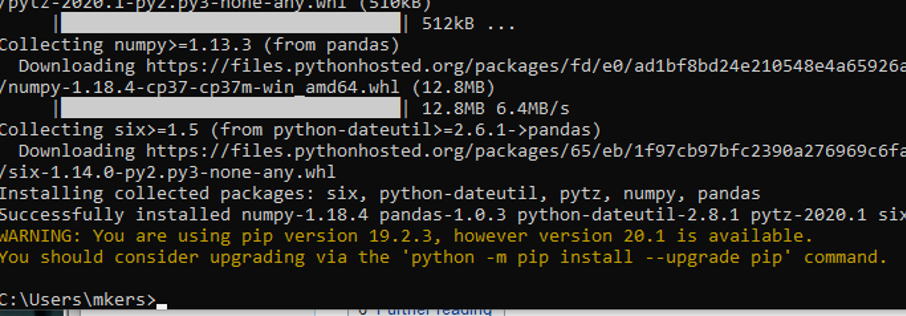
You can ignore the warning that a newer version of pip is available:
This are recommended packages to be installed, please install all of them:
| Package | Command prompt installation | Description |
|---|---|---|
| Pandas | pip install pandas | Pandas Is a package to deal with many different sorts of data such as JSON or CSV files (https://en.wikipedia.org/wiki/Pandas_(software) |
| Numpy | pip install numpy | Numpy is a library to use large multi-dimensional arrays and to process them (https://en.wikipedia.org/wiki/NumPy) |
| Matplotlib | pip install matplotlib | A library to plot data in all different kind of plots https://en.wikipedia.org/wiki/Matplotlib |
| JupyterLab | pip install jupyterlab | JupyterLab lets you combine documentation and Python scripts in one document. Documents will be shown and edit in a browser. This is also where you execute the scripts included in the document. Usually Jupyter is installed within Anaconda. Anaconda is a program that wants to help you installing different Python version at the same time, but it's often a bit confusing and everything else than lean-and-mean. https://en.wikipedia.org/wiki/Project_Jupyter |
| Flask | pip install flask | Flask is a web framework to be used in Python. It includes classes to build REST APIs and a webserver. Using a REST API allows you to easily make use of e.g. Google APIs. https://en.wikipedia.org/wiki/Flask_(web_framework) and https://en.wikipedia.org/wiki/Representational_state_transfer |
| FastAPI | pip install fastapi | FastAPI is again a web framework to be used in Python. It includes classes to build REST APIs but in contrast to Flask it also generates a documentation and a page to test the API. https://fastapi.tiangolo.com |
| Uvicorn | pip install uvicorn | Uvicorn provides a web server to execute REST APIs on a local machine. https://www.uvicorn.org |
| PySide2 | pip install PySide2 | This is a Python component for Qt supporting QML, the Qt mark-up language to generate user interfaces. It doesn't need a separate Qt installation https://en.wikipedia.org/wiki/PySide |
| iPyWidgets | pip install ipywidgets | Is a JupyterLab extension to have interactive fields in a Jupyter notebook. https://ipywidgets.readthedocs.io/en/latest/ |
To install a Python component for a specific software package, e.g. CVB, for Python on Windows systems you also use pip install , but this time you are giving it the path to the CVB wheel:
pip install d:\CVB\Lib\Python\cvb-1.1-cp35.cp36.cp37-none-win\_amd64.whl
Installing Visual Studio Code#
VS Code is a popular editor for Python scripts. It can be extended by so called modules that are used for e.g. syntax highlighting of Python source code. The download can be found here:
https://code.visualstudio.com/download
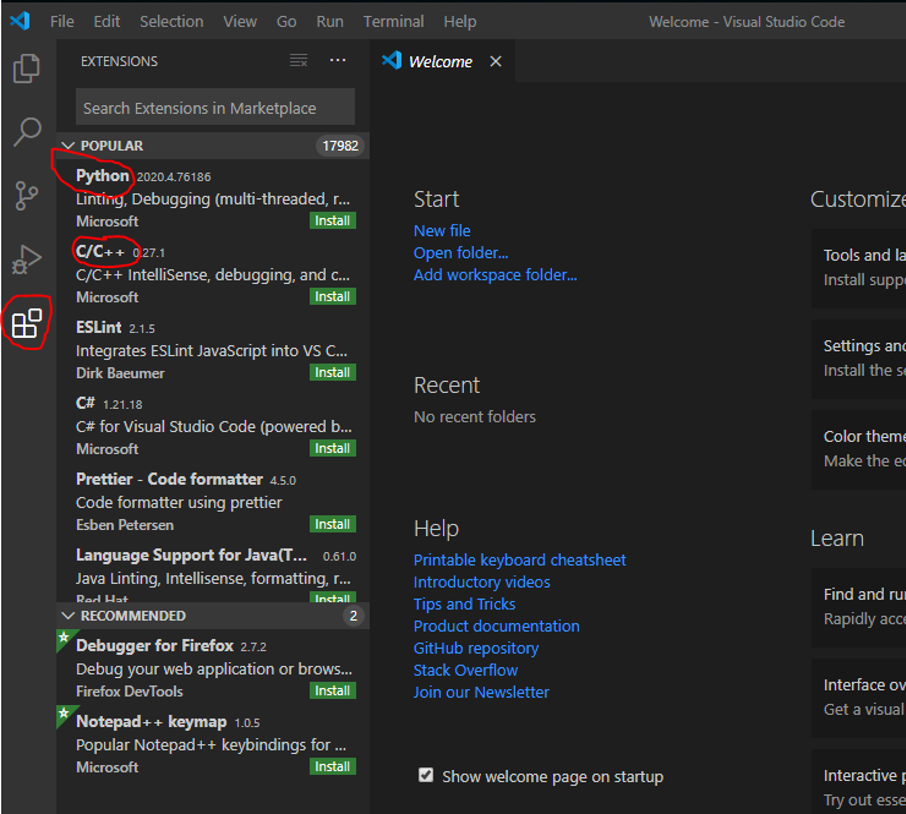
Simply install it for your platform using default settings and start it. Click the module item and select at least the Python and C++ modules:
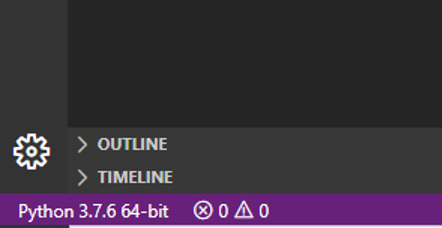
I also use the Visual Studio IntelliCode, GitHub Pull Requests and Issues and some other modules. VS Code will also show the installed version number in the lower left of the status bar:
Installing GitHub Desktop#
Goto https://github.com/ and if you don't have an account yet, you should consider to generate one now. Before we are starting with a GitHub project we want to install GitHub Desktop from this link:
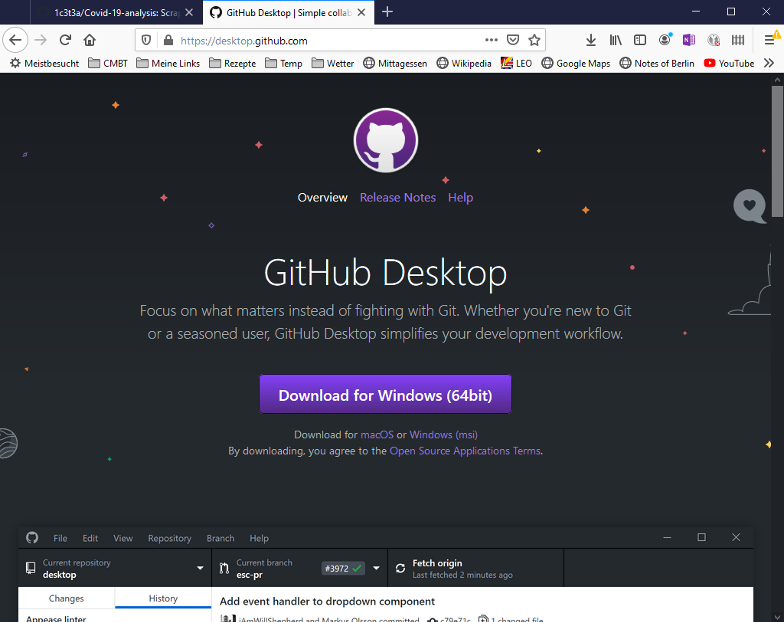
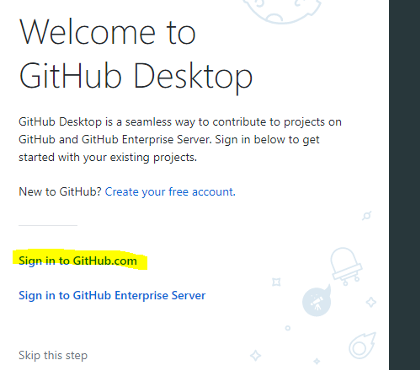
Execute it and sign-in to your account:
Using Python
Testing CVB Python#
This has nothing to do with our Covid-19 project but it makes sense tolist it here as well.You may want to skip this chapter.
Now it's a good time to re-start VS Code and to test CVB Python. In VS Code select File / Open Folder:

Select %CVB%\Tutorial\Image Manager\CVBpy\QmlStreamDisplay to open all files in this folder. Click on display.py to open the file:
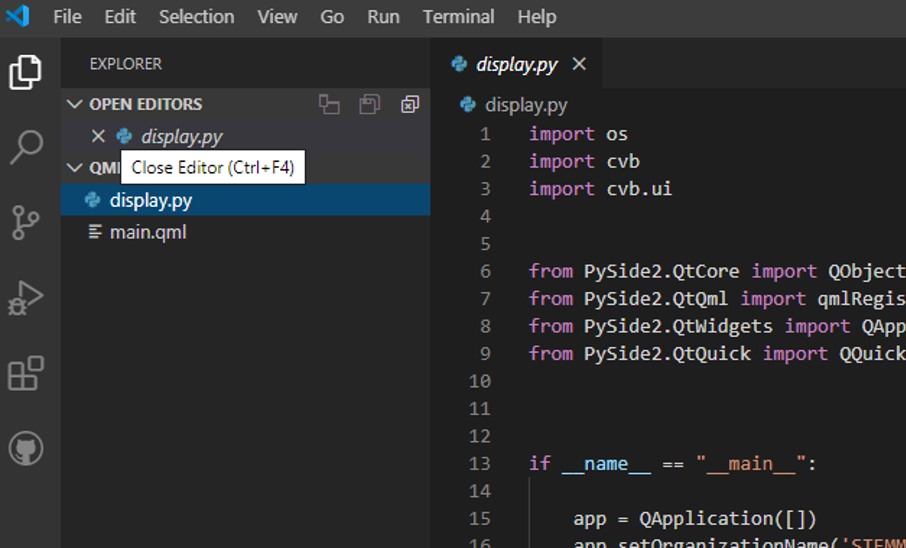
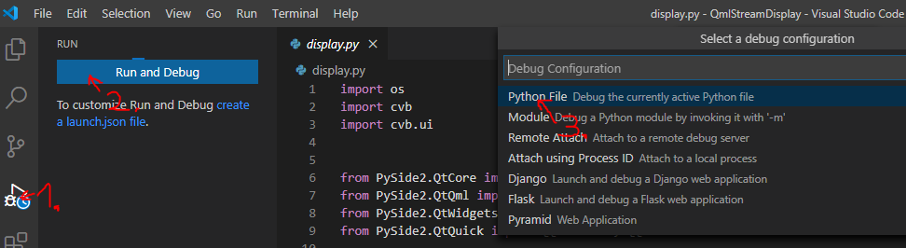
Click the Run icon, select Run and Debug and then Python File:
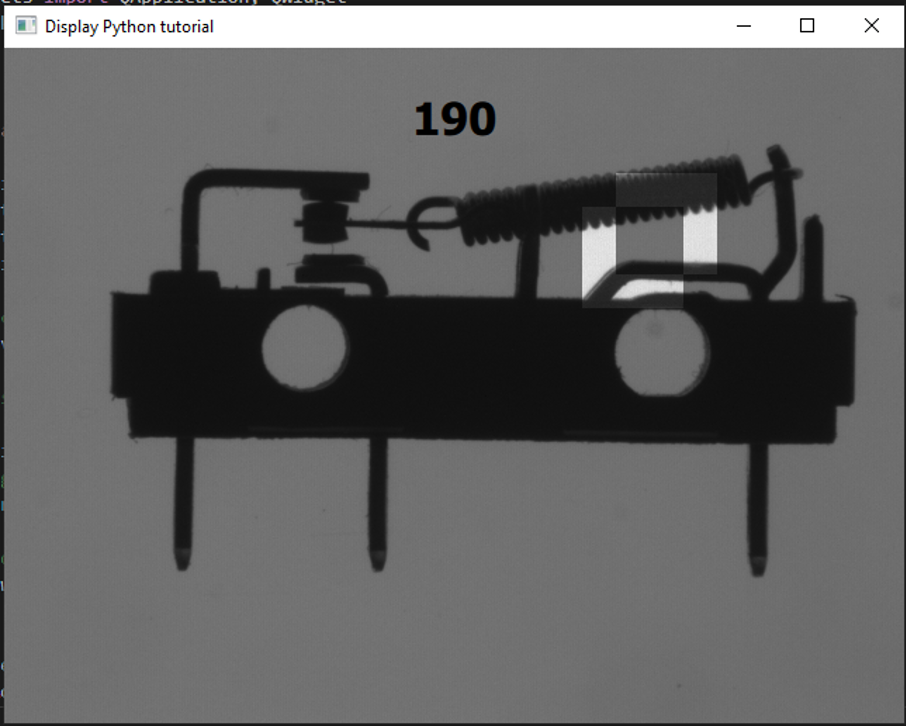
The program will run and display an image. Moving the mouse will show the gray value on the mouse position as a text:
TODO: explaining QML
Using GitHub and GitHub Desktop#
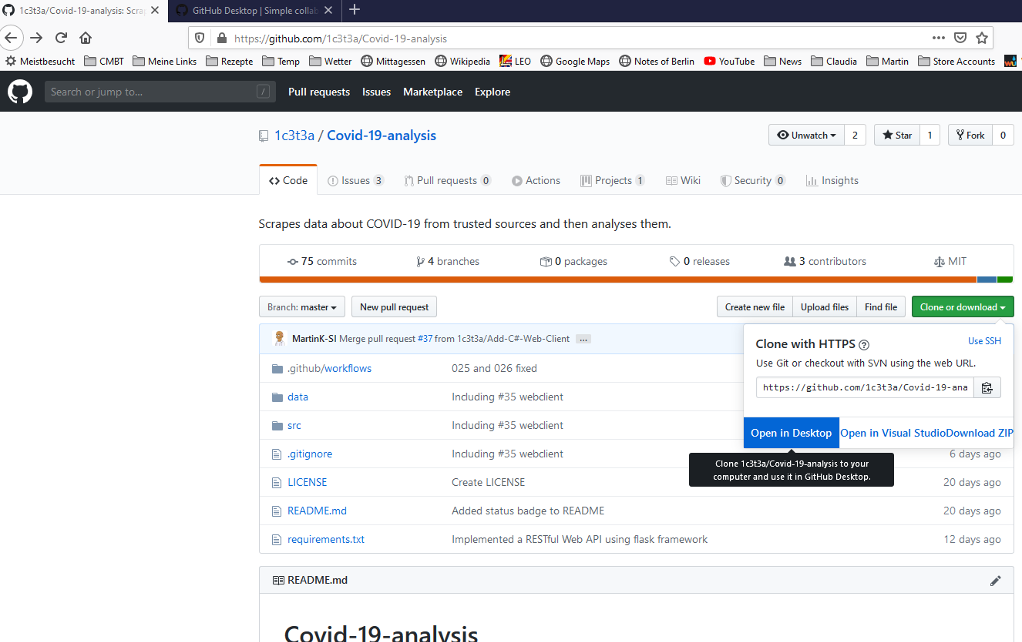
For this sample we want to clone a Covid-19 project from GitHub. Open the following link in your browser:
https://github.com/1c3t3a/Covid-19-analysis.
Click on Clone or download and Open in Desktop to download the source code and open it in GitHub Desktop:
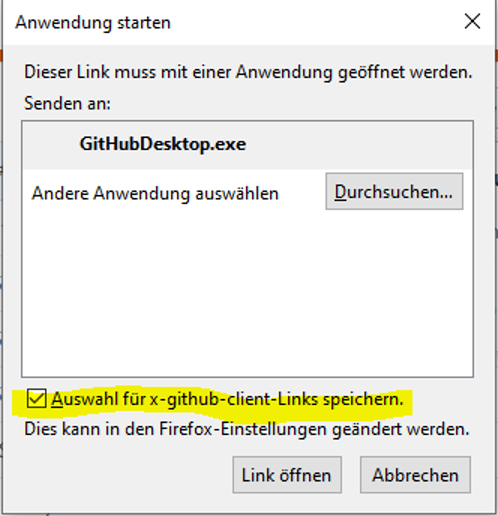
This will show a dialog in which we can open it in GitHub Desktop and check the Save this for GitHub Links option:
Select a local path for the download:

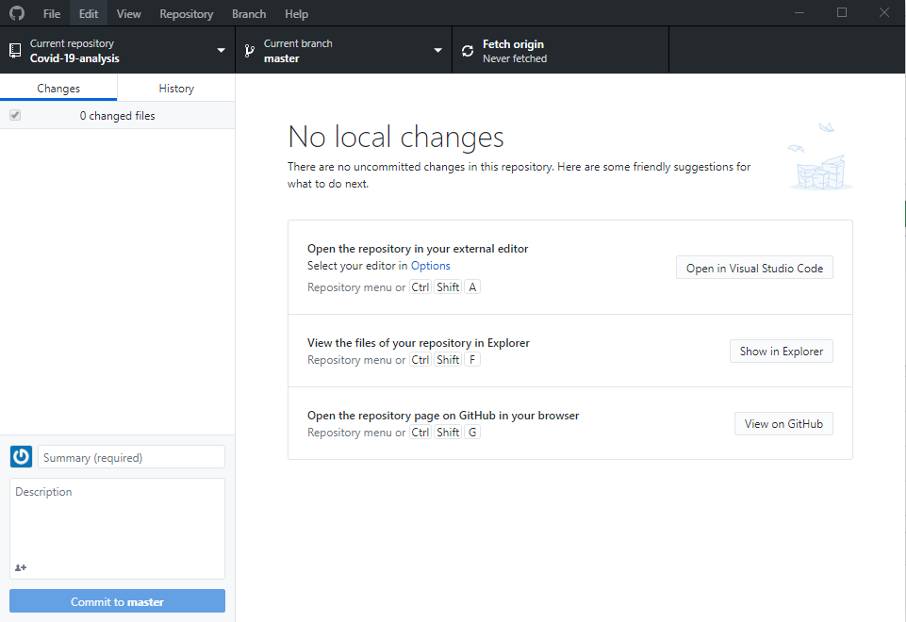
The project will be downloaded, and GitHub Desktop will show no differences of your local files to the repository. So far there are no differences:
Using Jupyter Notebook#
Now it's time to start the Juyper Notebook as a first try: Open a command shell and change the directory to the installation path of your Covid-19 repostory and its src subdirectory. This is important as the sample will download a file and save it to a path relative to the src directory. Execute
juyper-lab
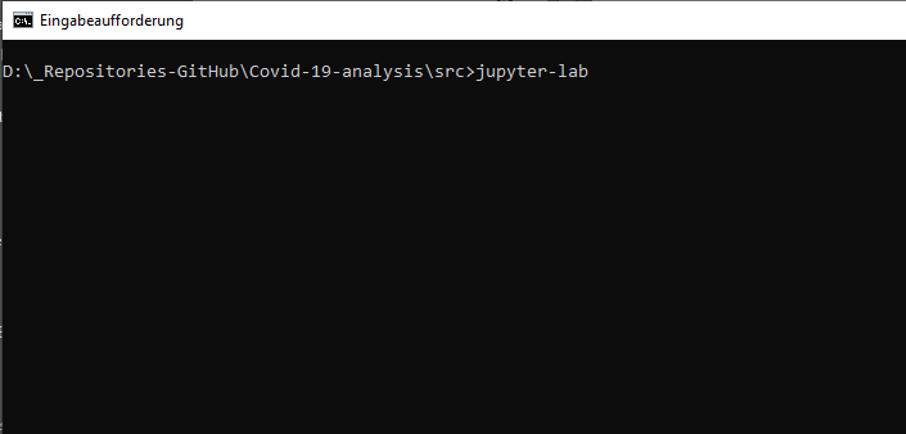
This will start a browser showing the Jupyter development environment listing the files of the startup directory:
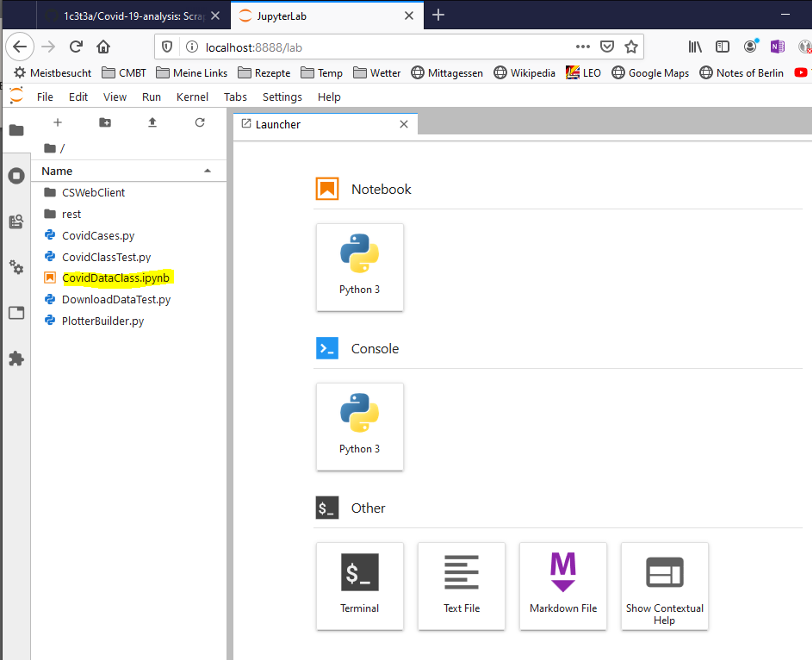
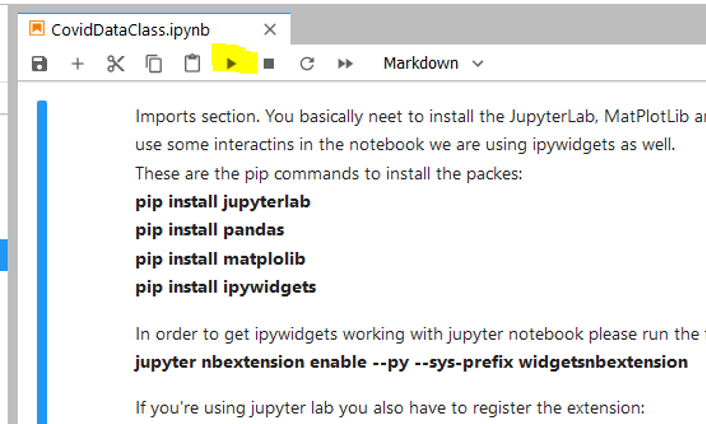
Double-click the file named CovidDataClass.ipynb. This will open the file in the browser:
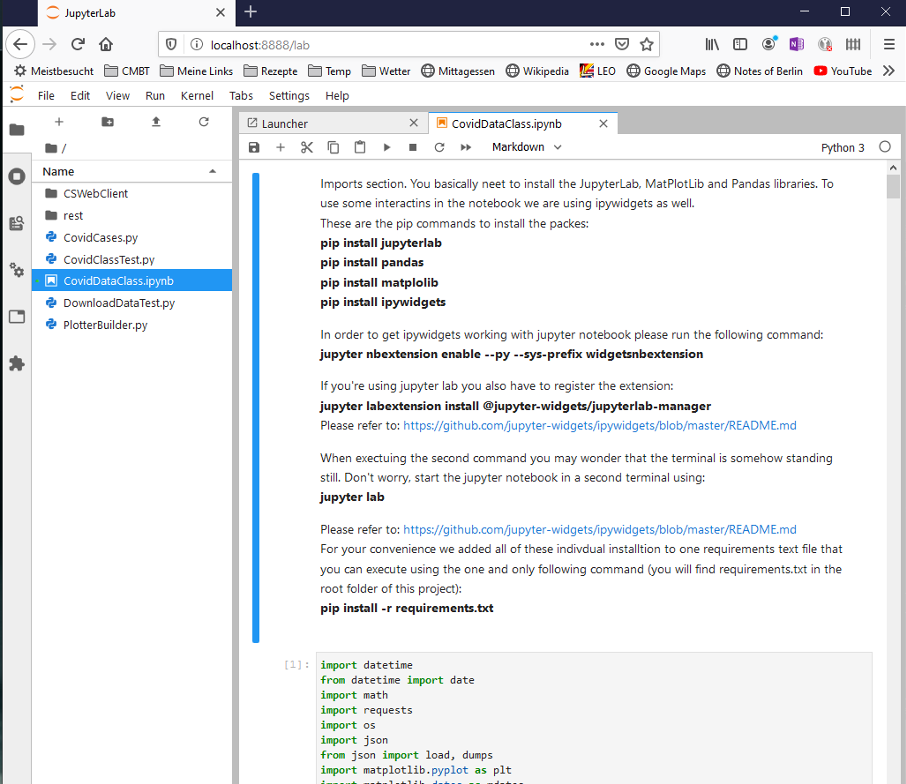
The vertical blue line indicates the active section you are currently working on. You can execute it by pressing the play button in the notebook:
Another option is to press Shift+Enter on your keyboard. After the execution of the active section the next section will become active and you can run it as well. Click Shift+Enter to quickly execute all sections until you reach the end of the document:
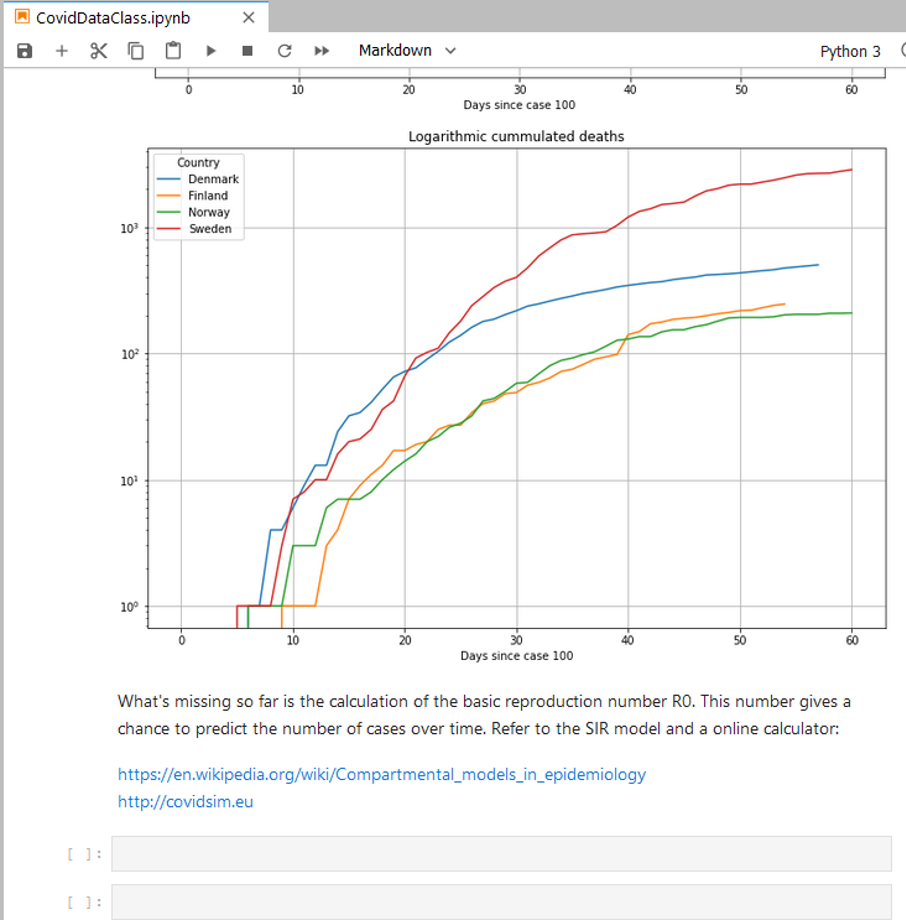
The last graphs will show you data of some countries. Scroll up to see the string of GeoIDs to change the value:
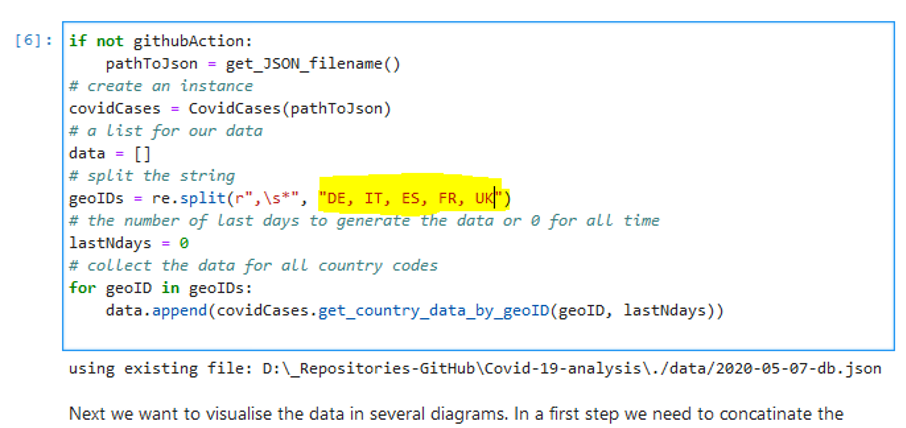
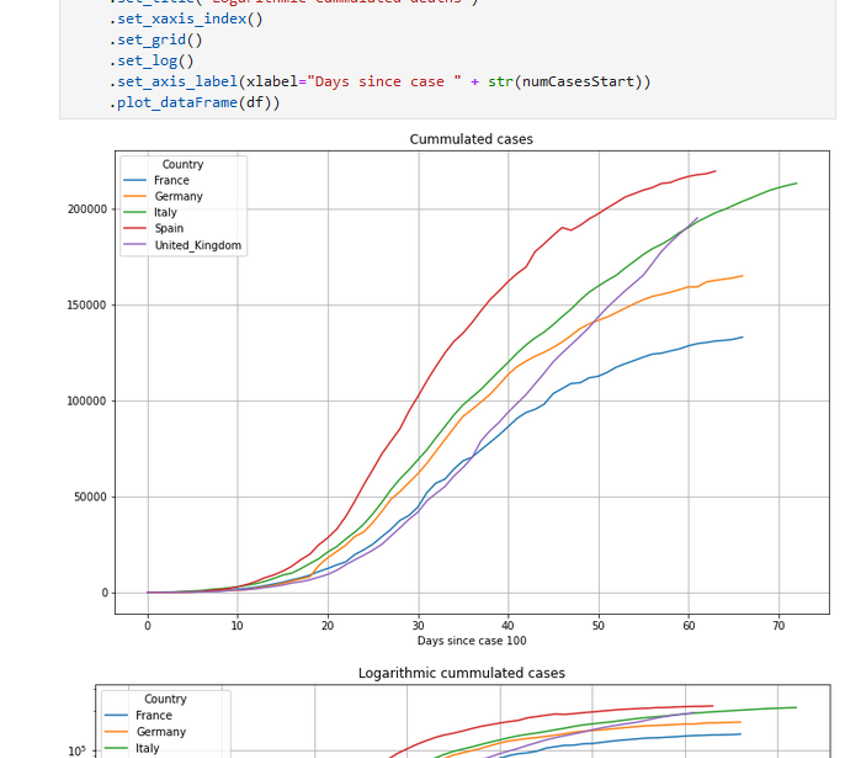
Use any country codes you like to see and execute the active code section and all sections below to see the new results:
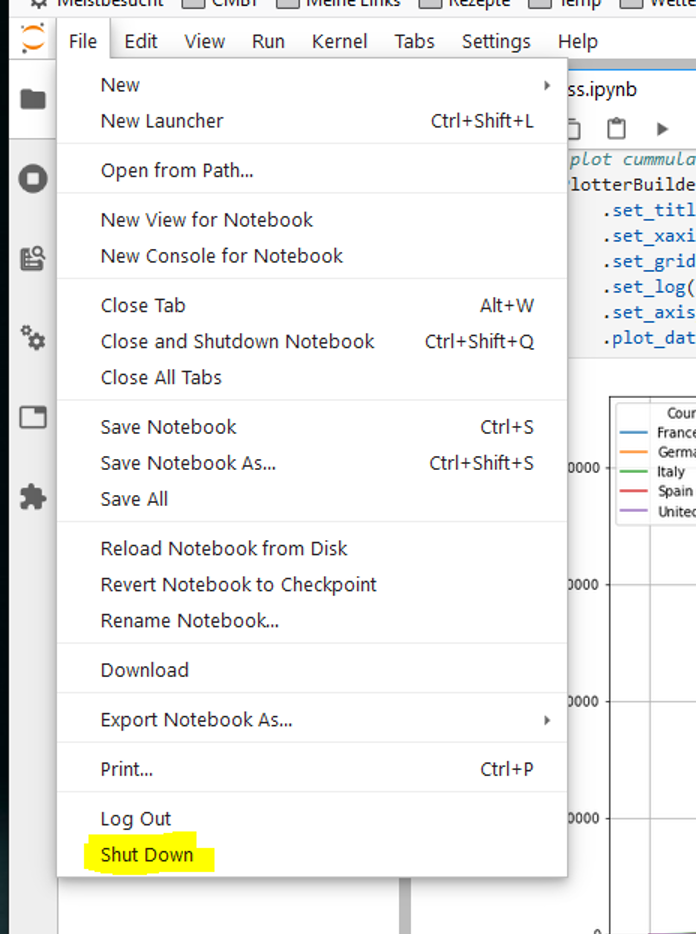
Modify the code as you want and run it as often as you want. To shutdown the Jupyter Notebook select Shut Down:
Using Visual Studio Code#
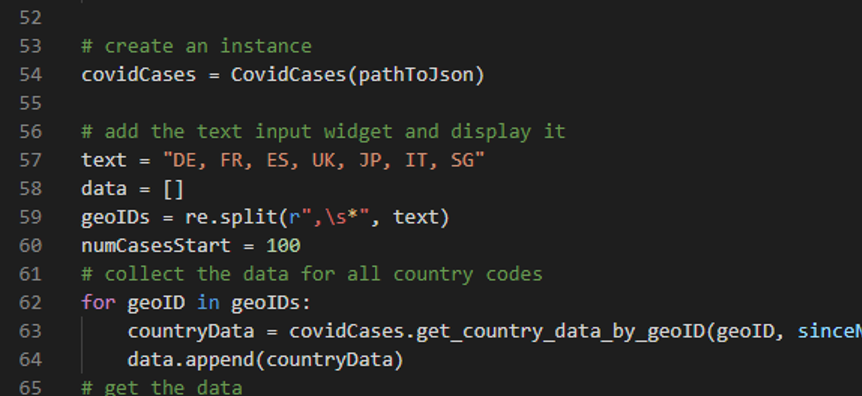
Start VS Code again and open the directory of your Covid-19 repository and its src subdirectory. In the directory you will find the complete source code of the project including some sample text programs:
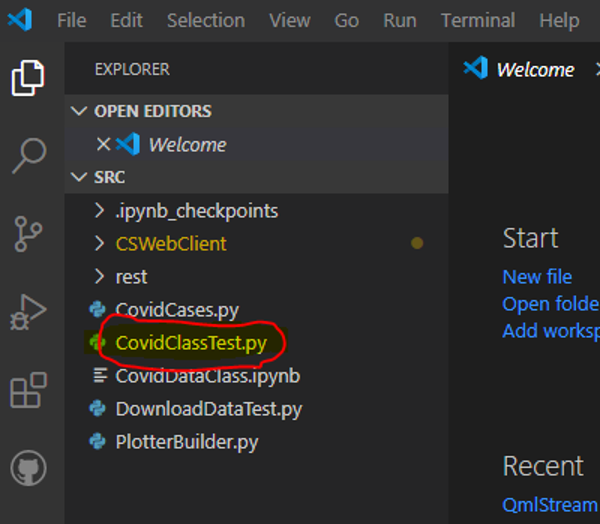
Open CovidClassTest.py and execute it. The sample will show two dialogs with graphs:
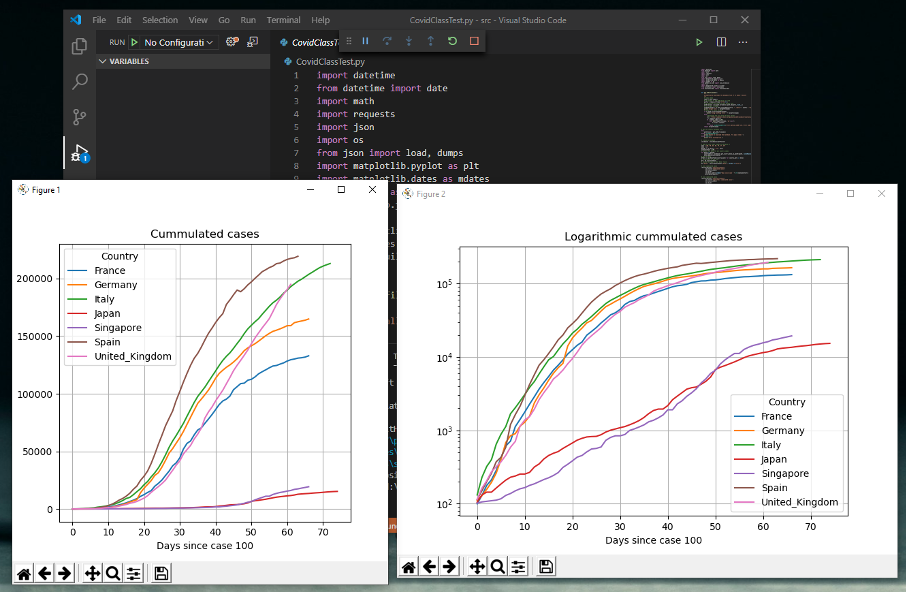
By closing the dialogs, the program will stop. In line number 57 you can again change the GeoIDs to generate the graphs for different countries: